Newsweek magazine ranked zZounds #1 in customer service among music gear retailers for both 2023 and 2024.
Learn more
you're approved
Simply add any No credit check item to your cart and check out. It's that easy! No paperwork, no SSN, no income questions, no interest charges and no late fees.
Learn more
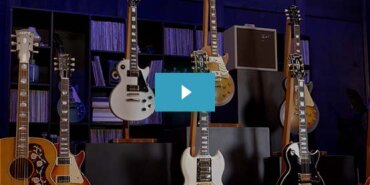
Check out the Epiphone Inspired by Gibson Custom lineup of guitars that features high-end appointments (and Gibson-style headstocks) at an affordable price point.
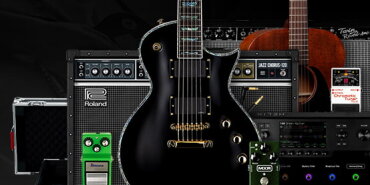
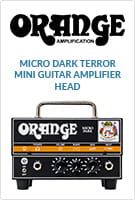
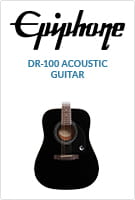
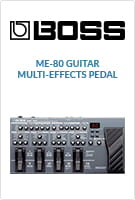
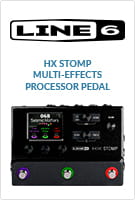
To help you build the ultimate signal chain, we've assembled this All-Star Guitar Rig list, featuring guitars, amps, pedals, and accessories that suit just about any style.
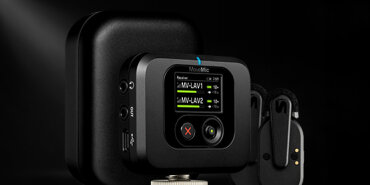
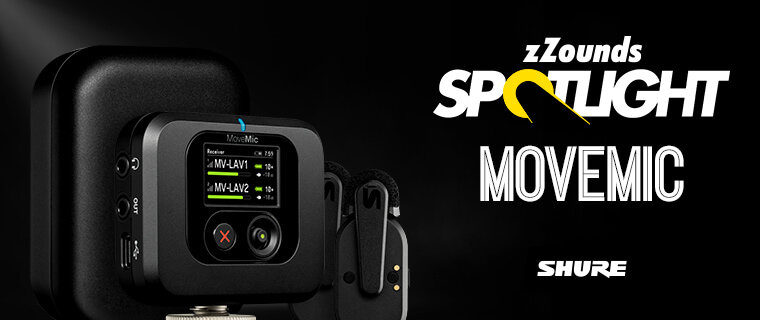
The MoveMic offers content creators up to 24 hours of on-the-go wireless recording via a discreet clip-on lavalier mic that sends audio directly to your phone. Learn more in our Spotlight guide!
"zZounds is the best! Period. No gimmicks, no hassle, pay on time and get your gear and build your relationship, it's that simple. This company ships super fast and means it when they say Play as you Pay."
February 16, 2024
This is a carousel with auto-rotating slides. Rotation may be stopped using the Pause button. Jump to a slide with the slide dots.
Check out the Epiphone Inspired by Gibson Custom lineup of guitars that features high-end appointments (and Gibson-style headstocks) at an affordable price point.
To help you build the ultimate signal chain, we've assembled this All-Star Guitar Rig list, featuring guitars, amps, pedals, and accessories that suit just about any style.
The MoveMic offers content creators up to 24 hours of on-the-go wireless recording via a discreet clip-on lavalier mic that sends audio directly to your phone. Learn more in our Spotlight guide!