Newsweek magazine ranked zZounds #1 in customer service among music gear retailers for both 2023 and 2024.
Learn more
you're approved
Simply add any No credit check item to your cart and check out. It's that easy! No paperwork, no SSN, no income questions, no interest charges and no late fees.
Learn more
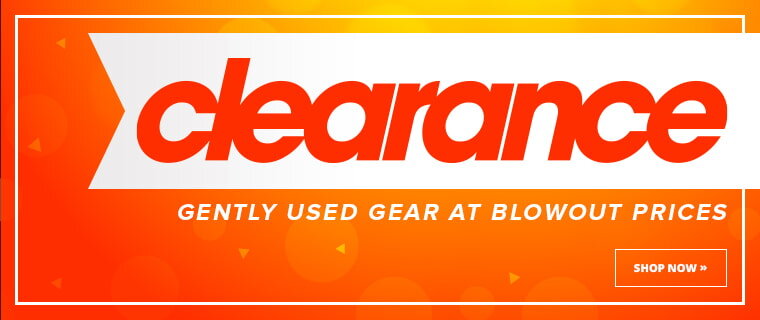
Welcome to zZounds. Get free shipping on instruments and musical equipment, easy zero-interest payment plans, and top-rated service.
Get Our Newsletter
From The Blog
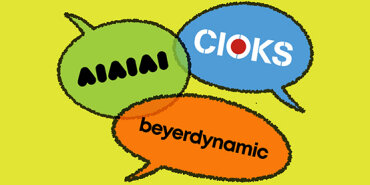
How to Pronounce More Gear Brand Names
Ever wondered how to pronounce some of the more unusual music gear brand names out there? Here are 12 commonly mispronounced music gear brand names, and our guide to saying them correctly.
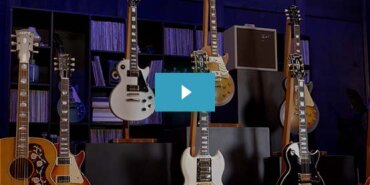
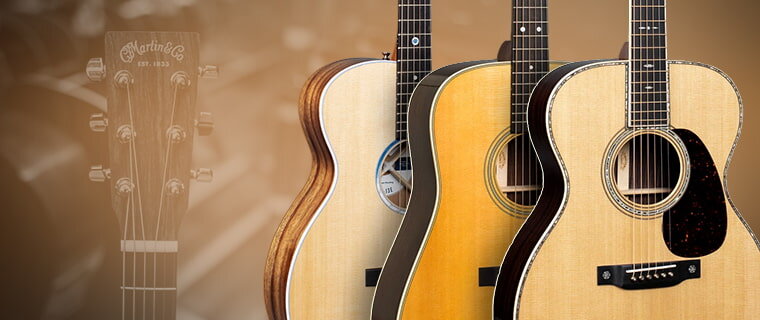
Check out the Epiphone Inspired by Gibson Custom lineup of guitars that features high-end appointments (and Gibson-style headstocks) at an affordable price point.
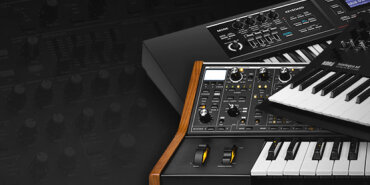
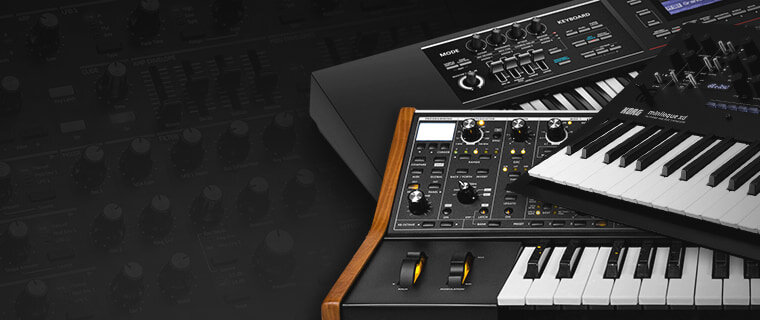
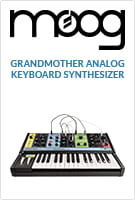
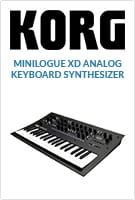
We've put all our synths through a high-pass filter so only the top remained, and added testimonials from real customers. Check out our list and find one that resonates with you!
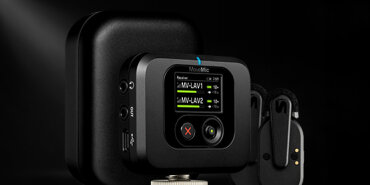
The MoveMic offers content creators up to 24 hours of on-the-go wireless recording via a discreet clip-on lavalier mic that sends audio directly to your phone. Learn more in our Spotlight guide!
"I recommend zZounds to everyone all the time, not just friends. The payment plans are a blessing & help to to many up n coming young musicians needing/wanting good gear & the Play as you Pay will help them grow faster & better."
February 22, 2024
This is a carousel with auto-rotating slides. Rotation may be stopped using the Pause button. Jump to a slide with the slide dots.
Ever wondered how to pronounce some of the more unusual music gear brand names out there? Here are 12 commonly mispronounced music gear brand names, and our guide to saying them correctly.
Check out the Epiphone Inspired by Gibson Custom lineup of guitars that features high-end appointments (and Gibson-style headstocks) at an affordable price point.
We've put all our synths through a high-pass filter so only the top remained, and added testimonials from real customers. Check out our list and find one that resonates with you!
The MoveMic offers content creators up to 24 hours of on-the-go wireless recording via a discreet clip-on lavalier mic that sends audio directly to your phone. Learn more in our Spotlight guide!